
Building a Garden Water Faucet
Our water supply for the garden is an old well located in the top corner of our property. The two first years we had to collect the water with buckets and carry it around to water our plants and trees. It builds character and strength. 😅 But in the end it was too much work. So for this garden season, one of our main projects was to install a pump and add some faucets at different locations in our garden.
When designing the faucet, I had some requirements:
- It should look good and natural so it blends in with the rest of the garden,
- it should use natural and composable materials (no pressure treated lumber for instance and try to avoid concrete),
- and be easily removed if we later decide to move things around.
After a lot of research I landed on this design: a 16 cm rough-sawn timber is anchored to a stone foundation using a combination of old and new techniques. The timber is burnt, brushed and oiled, and fitted with copper pipes and a brass faucet.
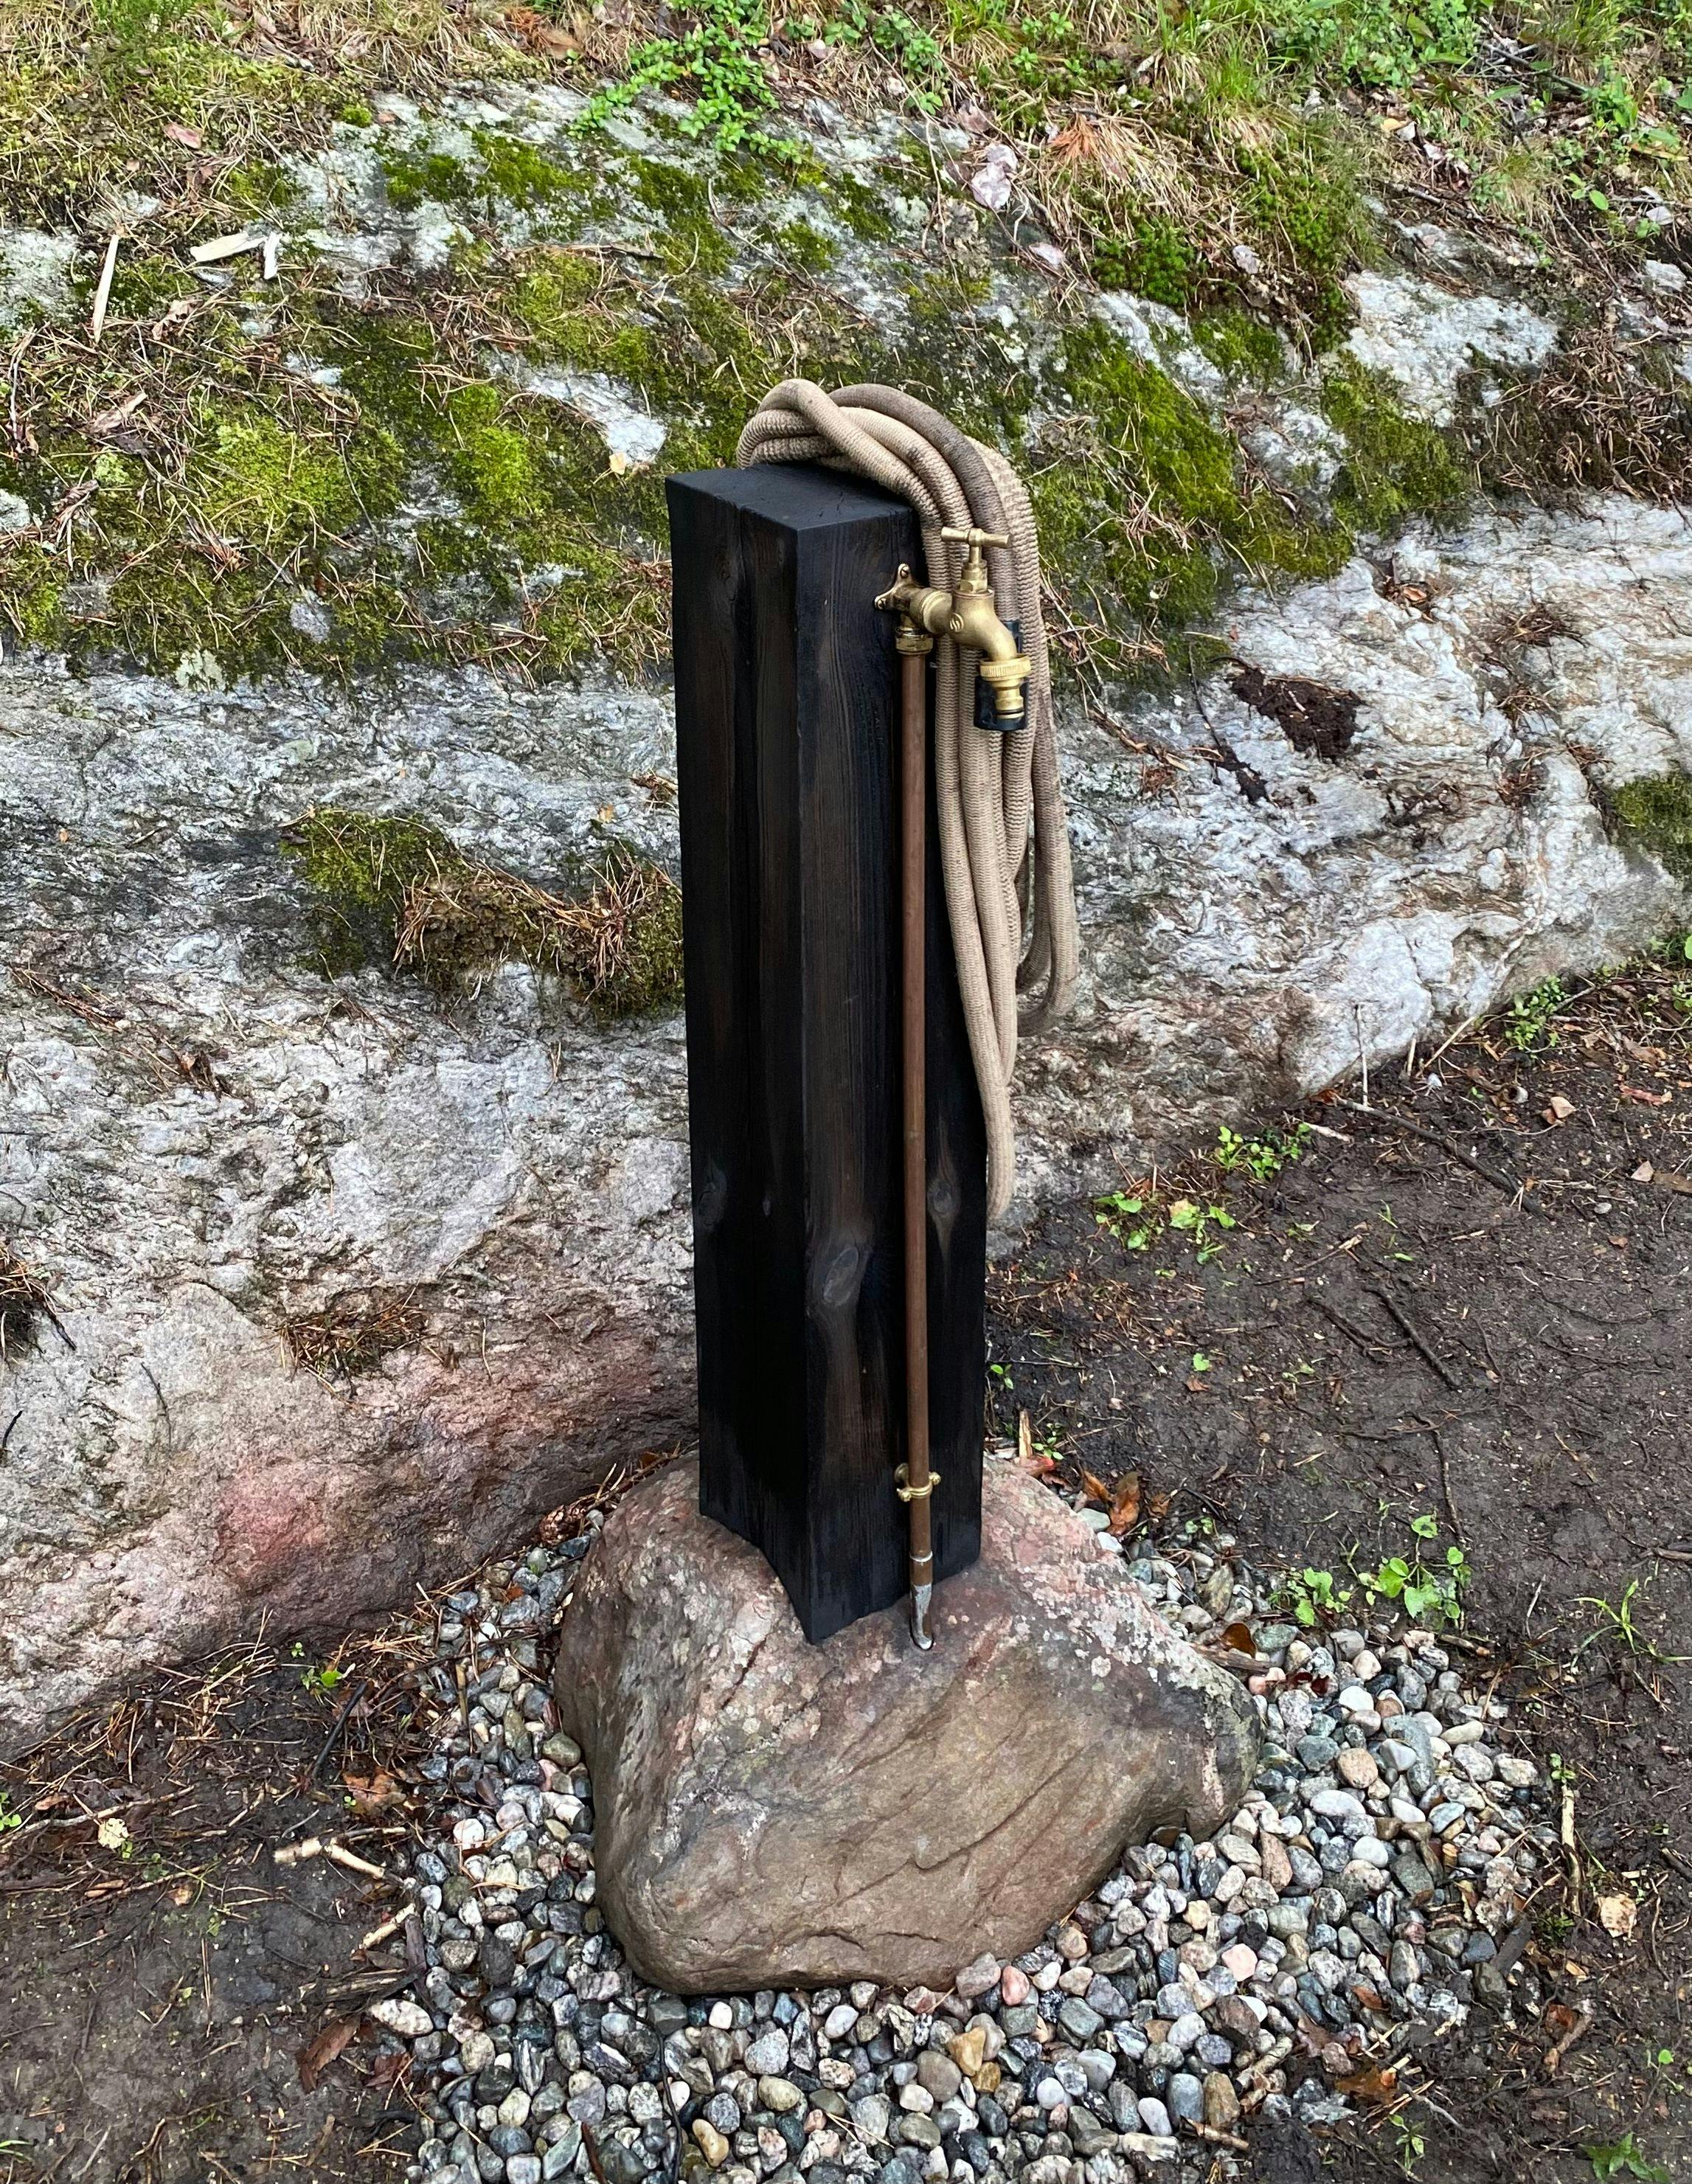
I've created a short Yotube video of the process. Process and images are below.
The steps in detail
- 1. I started by digging out a hole where I wanted to place the rock foundation. The hole was a bit wider than the rock and about 20–40 cm deep.
- To prevent frost and water to cause movement, I filled the hole with smallish vertically standing rocks. It should be a somewhat tight fit.
- The hole was filled with a layer of small shingles to increase drainage, prevent movement and improve aesthetics.
- I placed the stone in the correct orientation and drilled holes in it for both the timber anchoring and the copper pipes. I had previously created a test of the copper pipes mounted on the timber, so I knew the distance between both holes. The hole for the anchor was about 15–20 cm deep while the copper pipe obviously has to pass through.
- I connected the water pipes going underground up through the rock, and connected a short copper pipe that extended 10-15 cm above the rock surface. I didn't extend the copper tube all the way, as I thought it would be very difficult to get it completely straight and get a good fit. By soldering it on later I could adjust things as needed to get it straight.
- The rock should now be placed in its final destination. No more moving around after this point! I put the rock down in its place and made sure it was laying flat with good contact with the shingles, as to prevent any rocking back and forth.
- Next step was to add anchor adhesive to the drilled hole and put in the threaded rod. Make sure it's straight by use a small level.
- Now we need to make the hole and a hatch in the log for the rod. This so that the rod can be inserted and attached with a washer and a nut to the log. Drill a hole on the underside of the log, about 30 cm deep. Drill bit should a bit bigger than the threaded rod so that we have some clearance. About 30 cm above the bottom of the log drill and carve out a hatch big enough so that you are able to insert and attach a washer and a lock nut.
- Scribing the log. I placed the log on top of the rock centred over the drilled hole. Then I screwed planks to three of the sides to make legs so it could stand by itself. I then checked everything with a level and adjusted it. Now I could scribe the shape of the stone onto the log (I didn't have a scribe, so I made one myself).
- The log should be able to stand completely vertically by itself on top of the rock. To achieve this, I carved out the underside of the log using a chisel. You don't need the entire surface to touch the rock, only the outside perimeter. It will hold up more than enough. Houses are built using this technique. Test it multiple times to make sure it touches the entire outside perimeter and that it stands completely straight.
- To protect the underside from rot, I burnt the underside, brushed off the charred surface and then oil it with boiled linseed oil. Later I treated the entire thing for aesthetically reasons.
- Anchoring the log to the stone. I placed the log back into position, and screwed it tight using a washer and a nut using the hatch on the backside.
- The last step was to solder (using silver soldering) on the copper tube and connect my beautiful brass faucet. For the added touch I went to a hardware store in Oslo that specialises in screws, and got some beautiful brass screws with a truss head. Finally, the moment of truth: did it work? It worked beautifully! We've been using it for a few months now.


